
This exercise seems intended for those just beginning to work with image processing software. It requires taking any image, preferably one in need of processing, and performing adjustments to exposure, brightness, contrast, and white balance.
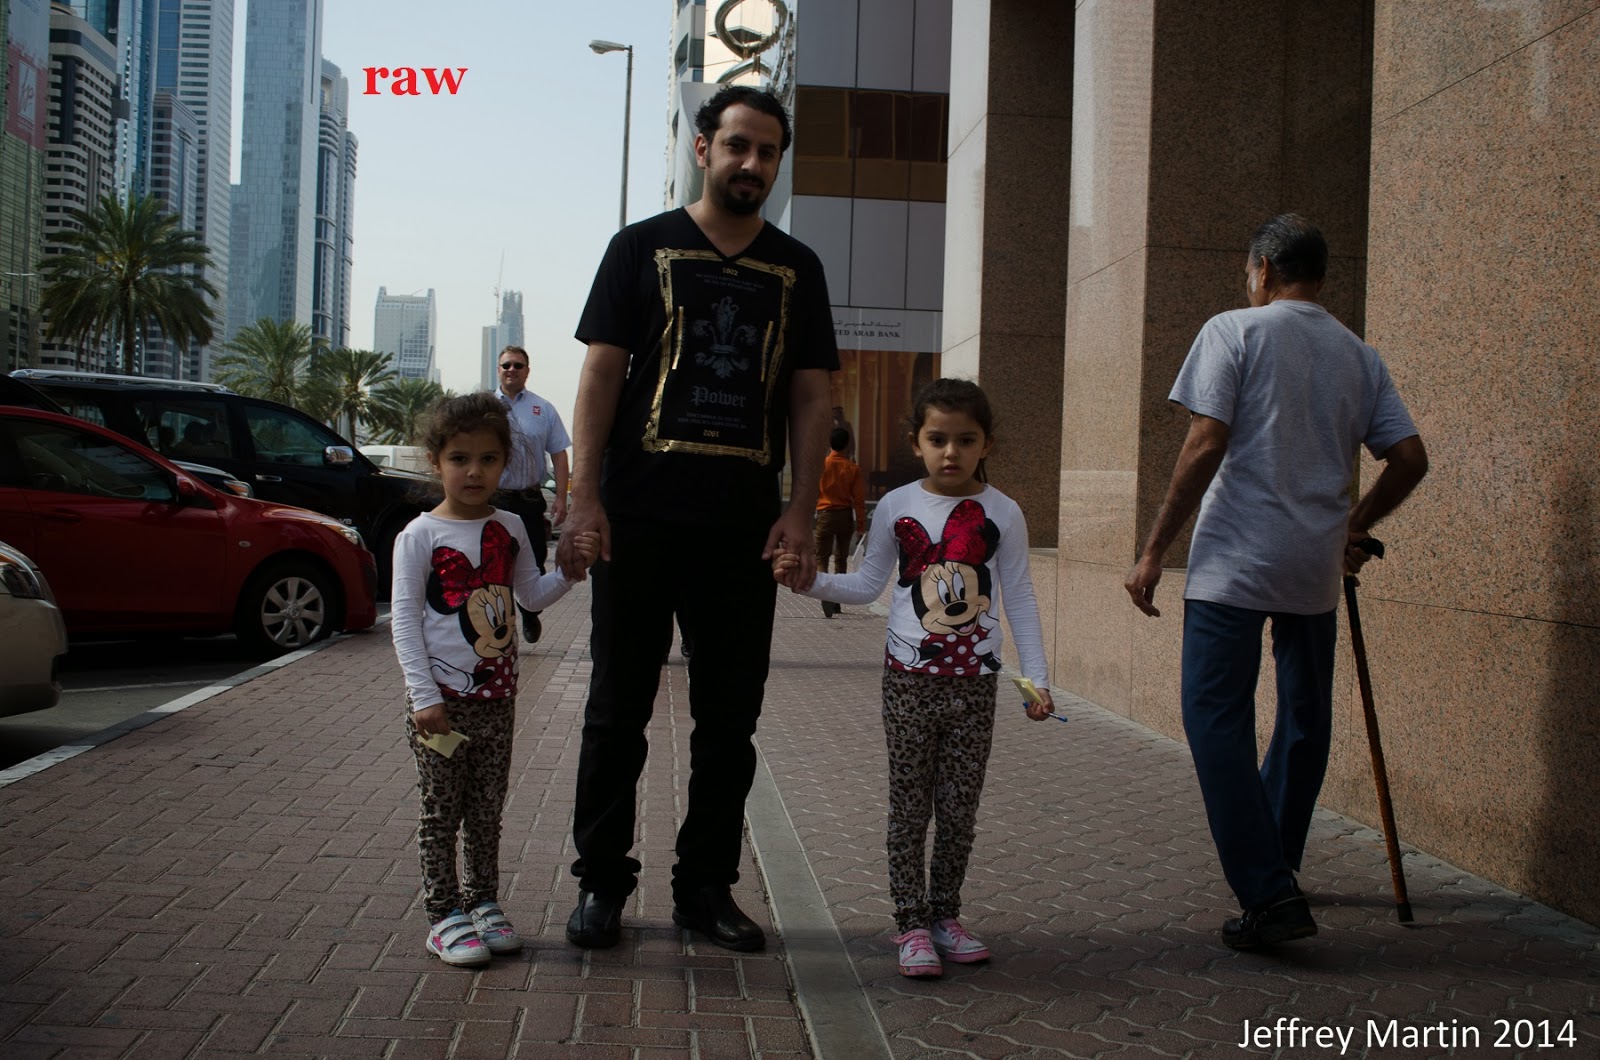
The image I have used here was taken during my work for assignment two. I had just stepped into the street and was checking the settings on my camera when I saw a young father with his two daughters, one in each hand. As we walked toward each other, I made eye contact and held up my camera. He smiled and nodded and when I went down on one knee he paused for a moment, the camera shutter released, and he began moving again. I able able to take one more image of the girls, with the father cut off at the waist, and then our encounter was over.
As this happened so quickly there was no time to adjust settings. Fortunately, the available settings weren't too bad. While the result was an underexposed image, it was not beyond repair. Below are the pre and post processed images, with notes made on the adjustments to each.
As in the previous exercise, I find camera jpgs particularly harsh, with excessive contrast, vibrance and saturation. Note the image above is the same as the processed raw file below with the addition of a mask to return color and detail to the sky.


- Auto lens adjustment (vertical and horizontal)
- Exposure +1.30
- Auto White Balance
- Shadows +87
- Contrast -25
- Vibrance -5
- Saturation -15
- Sharpening +50
- Output: sharpening for screen

- Auto lens adjustment (vertical and horizontal)
- Lens profile adjustment
- Exposure +80
- Daylight White Balance
- Shadows +80
- Contrast +25
- Vibrance +5
- Saturation +5
- Sharpening +50
- Output: sharpening for screen
#
No comments:
Post a Comment